Before it was the star of social media feeds and the darling of interior design, the Monstera Deliciosa was a quiet giant, climbing its way up the humid canopies of the tropical rainforests of Southern Mexico and Panama. For centuries, it lived a wild life, its massive leaves developing their signature splits, or “fenestrations,” to allow dappled sunlight and tropical rains to reach the forest floor below.
Its journey into our homes began in the mid-19th century when European botanists, exploring the “New World,” were captivated by this magnificent plant. They were so impressed by its strange and wonderful fruit—which is said to taste like a combination of pineapple and banana—that they gave it the name Monstera Deliciosa, which literally means “delicious monster.”
It quickly became a prized possession during the Victorian era, a symbol of exotic taste and worldliness. Its popularity soared again during the mid-century modern design boom, where its bold, graphic leaves provided the perfect living sculpture to complement clean lines and minimalist furniture. Today, thanks to its forgiving nature and undeniable beauty, the Monstera has become the ultimate collector’s plant for a new generation.
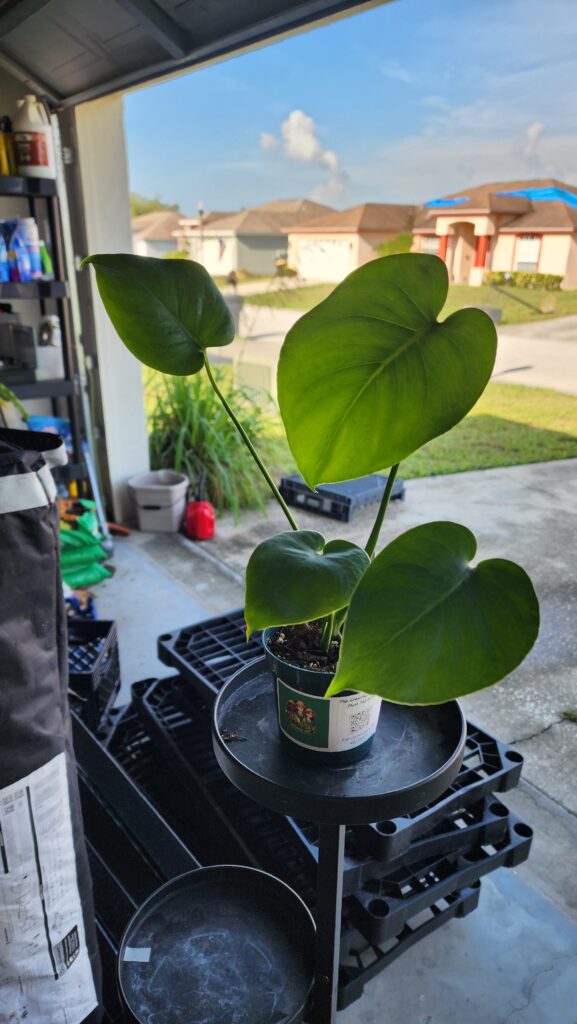
The plant sitting in your home is more than just a houseplant; it’s a piece of living history with a wild heart. And now, you get to be a part of its incredible story. Helping it thrive is easy, and this guide will show you exactly how.
Lighting: The Secret to Happy Leaves
To understand what kind of light your Monstera wants, remember where it comes from: the rainforest floor, where it gets dappled sunlight that filters through the canopy above. We want to recreate that environment in our homes.
The short answer: Your Monstera craves bright, indirect light.
What does that actually mean?
- The Perfect Spot: An ideal location is a few feet away from an east-facing window where it can get gentle morning sun, or near a south or west-facing window that is covered by a sheer curtain. The goal is for the plant to see the sky, but not for the sun’s rays to hit the leaves directly for more than an hour or two.
- What to Avoid: Direct, harsh afternoon sun will scorch your Monstera’s beautiful leaves, leaving brown, crispy marks. If you see this, move it further from the window immediately!
- Not Enough Light? While Monsteras can tolerate lower light conditions, they won’t thrive. If your plant isn’t getting enough light, it will become “leggy” (with long, stretched-out stems) and is much less likely to develop those iconic leaf splits (fenestrations).
Pro-Tip: Every few weeks, give your plant a quarter turn. This ensures all sides get equal light, encouraging even, upright growth instead of having it lean in one direction.
Watering: Quenching a Tropical Thirst
When it comes to watering your Monstera, the most important rule is that it would much rather be a little too dry than a little too wet. Its thick, hardy roots are sensitive to rot, so letting the soil dry out is key.
The short answer: Water thoroughly when the top 2-3 inches of soil are completely dry.
How to check: Don’t just rely on a schedule! The best way to know if your plant is thirsty is to use the “finger test.” Simply stick your index finger down into the soil up to your second knuckle.
- If you feel any moisture, wait a few more days and check again.
- If it feels dry and crumbly, it’s time to water.
The Right Way to Water: When it’s time, give your plant a good, long drink. Take it to a sink or tub and water it slowly until you see water flowing freely from the drainage holes at the bottom of the pot. This ensures the entire root ball gets hydrated. Let it drain for about 15-20 minutes before placing it back in its decorative pot or saucer.
What to Avoid: Never let your Monstera sit in a puddle of water. This is the fastest way to cause root rot, which is very difficult to recover from. Always empty the saucer after watering.
Pro-Tip: In the winter, your plant’s growth will naturally slow down, and it will need less water. You might find yourself watering every 2-3 weeks instead of weekly. Always trust the finger test, not the calendar!
Humidity: Creating a Rainforest Feel
Your Monstera’s natural home is the warm, steamy rainforest, so it will always appreciate a humid environment. In fact, providing enough humidity is one of the best ways to encourage larger leaves and prevent frustrating crispy, brown edges.
Good news for Floridians: Our natural environment is often quite humid, especially during the warmer months, which your Monstera will love! However, indoor air conditioning can make the air much drier than you think.
How to tell if your plant needs more humidity: Look at the edges of the leaves. If they start to turn brown and crispy, but the rest of the leaf is healthy, low humidity is the most likely culprit.
Simple Ways to Boost Humidity:
The Bathroom Spa: If you have a window in your bathroom, it can be the perfect home for a Monstera. It will absolutely love the steam from your daily showers.
Regular Misting: The easiest method. Keep a spray bottle filled with water nearby and give your plant’s leaves a light misting every couple of days. It’s like creating a mini morning dew.
The Pebble Tray Method: Find a shallow tray or saucer that is wider than the base of your pot. Fill it with a layer of pebbles and add water until the pebbles are almost covered. Place your plant pot on top of the pebbles, making sure the bottom of the pot isn’t sitting directly in the water. As the water evaporates, it will create a perfect little pocket of humidity right where your plant needs it most.
Group Your Plants: Plants naturally release moisture through their leaves in a process called transpiration. By grouping several of your houseplants together, they create a small, humid microclimate for each other.
Soil & Fertilizer: The Perfect Foundation
To truly help your Monstera thrive, it’s essential to get the foundation right. This means choosing a soil medium that mimics its natural environment and providing it with the right nutrients to fuel its growth.
The Perfect DIY Soil Mix
Monsteras are “epiphytes,” meaning their roots are adapted to cling to trees, not sit in dense, wet soil. They need a chunky, airy potting mix that allows for excellent drainage and air circulation. Standard potting mix is often too heavy.
Here is a superior DIY recipe that your Monstera will love:
- 2 parts Peat Moss: This forms the base of your mix. Peat is fantastic at holding onto moisture and nutrients without becoming compacted, providing a stable yet light anchor for the roots.
- 1 part Perlite: These little white volcanic rocks are key for aeration. They create air pockets throughout the mix, ensuring that roots can breathe and preventing water from sitting for too long.
- 1 part Orchid Bark: Adding orchid bark or coconut coir chunks makes the mix even chunkier, perfectly replicating the airy debris of the rainforest floor where Monsteras naturally grow.
This combination creates a well-draining environment that holds just enough moisture while protecting against the primary killer of houseplants: root rot.
Fertilizing: Food for Growth
While a good soil mix provides the right environment, your Monstera will need regular feeding during its growing season (spring and summer) to produce those iconic, fenestrated leaves.
For leafy tropical plants, the goal is to encourage lush foliage. The ideal way to do this is with a high-quality, balanced liquid fertilizer that has a 3-1-2 NPK ratio (Nitrogen-Phosphorus-Potassium). A perfect example of this is a product like Dyna-Gro Foliage-Pro, which has a 9-3-6 ratio that simplifies down to 3-1-2. This formula provides all the essential micronutrients and is perfectly balanced for foliage growth.
Follow the instructions on the fertilizer label, typically diluting it to half or quarter strength and feeding your plant every 2-4 weeks with your regular watering. Hold off on fertilizing during the fall and winter when the plant’s growth naturally slows down.e in a rush to repot your new plant. It will be happy in its current pot for at least a year or two. A good sign that it’s time for a new pot is when you see roots growing significantly out of the drainage holes.